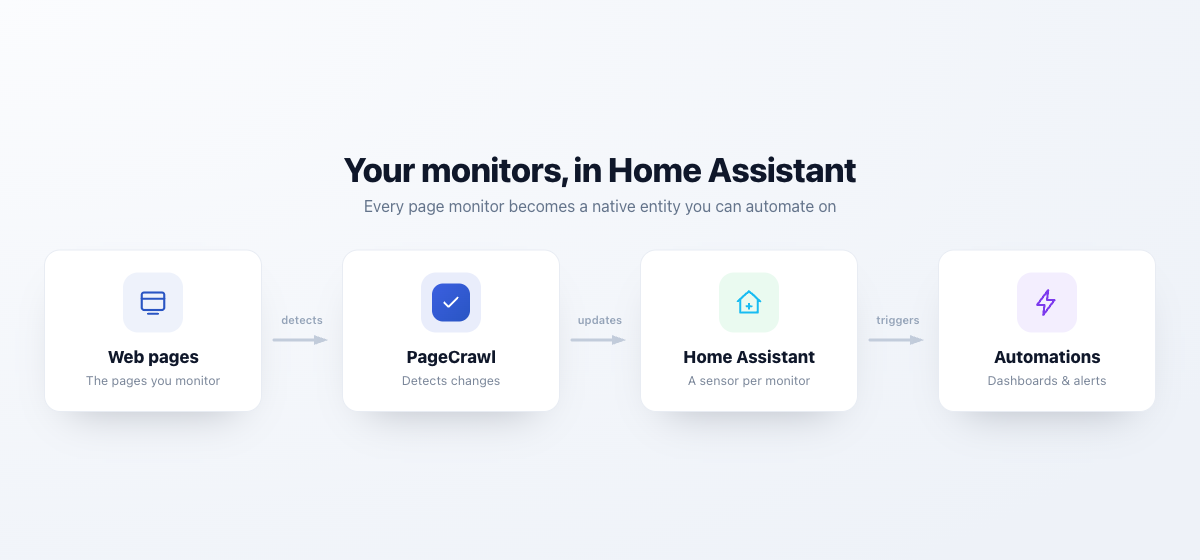
The PageCrawl Home Assistant integration turns each of your page monitors into native Home Assistant entities you can view on your dashboard, chart over time, and build automations on. Entities update in real time whenever PageCrawl detects a change.
Great Use Cases (what rest and scrape sensors can't do)
Home Assistant already fetches URLs and scrapes CSS selectors on simple, static pages. PageCrawl is for the pages those built-in sensors fall short on:
- Sites that block ordinary scrapers. A
restsensor pointed at a concert resale page, an airline fare, or most big retailers comes back with an error page or a "are you human?" challenge instead of the value. PageCrawl reads these reliably, so a ticket price, a flight fare, or a product page keeps working as a sensor. - Pages behind a login, including ones that send a one-time code. Your energy tariff, broadband usage, council tax balance, or parcel status only shows once you are signed in, and some of those email a one-time passcode (OTP) every time. PageCrawl signs in for you, completes the OTP step, and surfaces the value. A
scrapesensor just lands on the login screen. - JavaScript-rendered pages. A GPU or console restock counter, a live delivery-slot grid, an EV charger's status, or a price that is injected by the page's scripts is simply not in the HTML a plain fetch downloads, so
scrapereturns nothing. PageCrawl loads the page fully first, then reads the rendered value. - Pages that need steps first. Your council's next bin-collection date appears only after you type a postcode and submit the form. A GP or DVSA test slot appears only after you pick a location. PageCrawl performs those clicks and form fills once you configure them, and Home Assistant reads the result.
- AI extraction instead of brittle selectors. Ask in plain language for "the next bin collection date" or "is this product in stock", and it keeps working when the page is redesigned and the CSS selector you would have written breaks. No
div:nth-child(7) > spanto re-find every time the site changes. - Change detection without false positives. A raw
scrapeof a planning-application page or a terms-of-service page fires on every rotating banner, view counter, or reordered block. PageCrawl filters that noise out, so you are alerted only when the date, the price, or the actual text changes, with a human-readable summary of what changed. - Visual change detection. Know when a status page, a webcam still, or a product image actually looks different, backed by screenshots, even when there is no clean text value to scrape at all.
When to Use rest/scrape vs PageCrawl
Home Assistant's built-in rest and scrape sensors are a great fit for many pages, and they run entirely locally. Reach for PageCrawl only when they fall short:
Use a built-in rest / scrape sensor when |
Use PageCrawl when |
|---|---|
| The page is static, public HTML or a JSON API | The page needs JavaScript to render the value |
| A stable CSS selector or JSON path exists | No reliable selector, or it breaks when the page changes |
| The page has no login and allows automated requests | The page needs a login or blocks ordinary scrapers |
| The value is visible on first load | The value only appears after a login, click, or form submission |
| You only need the current value | You want change history, diffs, or a human or AI summary of what changed |
| Any change to the value is meaningful | The page is noisy (ads, timestamps, reordered blocks) and you only want real changes |
| You are happy maintaining the selector yourself | You want AI extraction and no scraping logic to maintain |
If a scrape sensor already returns the value you need, keep using it. Bring in PageCrawl for the pages where it comes back empty, gets blocked, or needs constant selector fixes.
What You Get
- One Home Assistant device per monitor.
- One entity per tracked element on that monitor, typed correctly (numeric, on/off, text, or item counts).
- Real-time push updates when a change is detected, with polling as a fallback.
- A Check now button on every monitor, plus actions to create new monitors.
- A
pagecrawl_changeevent you can trigger automations from. - A choice of what to import (everything, selected folders, or selected monitors), with support for multiple workspaces.
Installation (HACS Custom Repository)
The integration installs through HACS as a custom repository.
- In Home Assistant, open HACS.
- Open the menu (top right) and choose Custom repositories.
- Add the repository URL
https://github.com/pagecrawl/hass-pagecrawlwith category Integration, then add it. - Find PageCrawl in HACS, install it, and restart Home Assistant.
If you are reading this on the device running Home Assistant, the button below opens the repository in HACS directly:

Connecting Your Account
Go to Settings > Devices & Services > Add Integration and search for PageCrawl.

You are redirected to PageCrawl to sign in and authorize Home Assistant. There is no token to paste, and a free account is enough.
If your account has more than one workspace, pick the one to add. Each workspace becomes its own entry with its own devices and entities. To add another workspace later, run Add Integration again and choose a different one.
Choosing What to Import
During setup you pick how much of the workspace to bring into Home Assistant:
- All monitors (default): every monitor in the workspace becomes a device.
- Selected folders: only monitors in the folders you choose are imported.
- Selected monitors: you hand-pick the exact monitors to import.
You can change this later in the integration's Configure screen. If you narrow the selection, the devices and entities for the de-selected monitors are removed automatically. Widening it again imports the newly in-scope monitors on the next update.
Real-Time Updates vs Polling
The update mode is set in the integration's Configure screen.
- Auto (default): uses push when Home Assistant has a reachable URL, otherwise falls back to polling. The integration tells you which mode is active.
- Push and poll: forces push, with a slow reconciliation poll to catch any missed deliveries. Needs a reachable URL.
- Polling only: never registers a webhook and checks on the interval you set. Use this for local-only installs that cannot expose an endpoint.
Push needs a URL that PageCrawl can reach from the internet. A Home Assistant Cloud (Nabu Casa) cloudhook is the recommended way to get one, and it is configured automatically. If no reachable URL is available, the integration falls back to polling. The poll interval has a 60 second minimum to respect rate limits.
How Monitors Map to Entities
Each monitor becomes a device, and each tracked element becomes one entity chosen by its type:
| Element type | Entity | State |
|---|---|---|
| Price | sensor (monetary) | numeric value |
| Number | sensor (measurement) | numeric value |
| Rating | sensor (measurement) | numeric value |
| Reviews | sensor (measurement) | numeric value |
| HTTP status | sensor | numeric status code |
| Boolean | binary sensor | on when truthy |
| Availability | binary sensor | on when in stock |
| Text, Full Page, HTML, AI Extract, and similar | sensor | text value (full value in an attribute when truncated) |
| Links, Feed, Leaderboard, and other lists | sensor | item count (items in an attribute) |
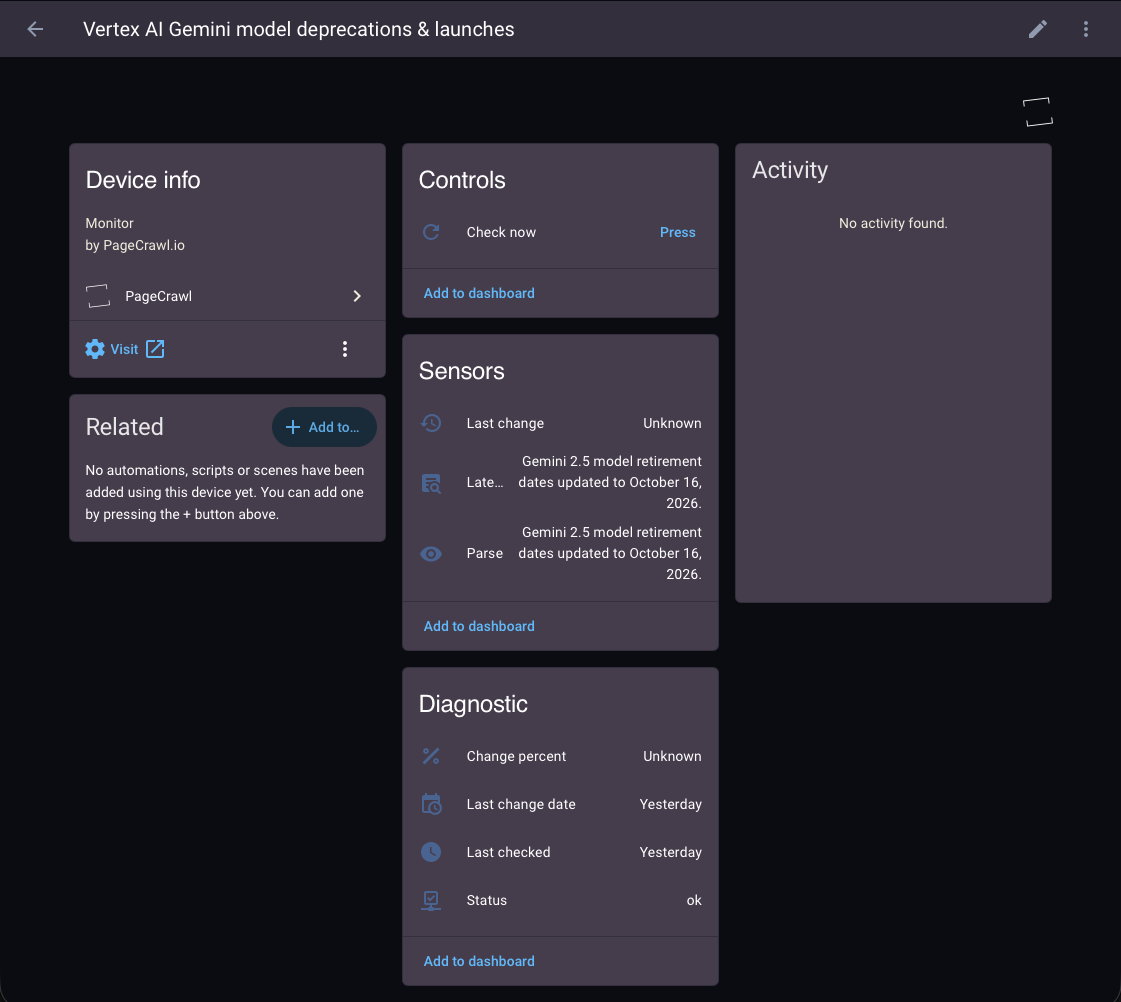
Every monitor also gets diagnostic entities (status, last checked, last change date, change percent), so a device is never empty even if its element types are unrecognized. Common details such as the URL, status, change percent, and diff and screenshot links are exposed as attributes on the primary sensor.
Each monitor also gets a few per-monitor sensors that describe its latest change:
- Last change: a short, human-readable summary of what changed at the last check (the full text is available in an attribute).
- AI summary: the AI summary of the latest change. It appears only when AI analysis is enabled on that monitor.
- AI priority: a diagnostic score for how important the latest change is. It appears only when AI analysis is enabled on that monitor.
Actions
The integration provides two actions you can call from automations, scripts, or the Developer Tools:
- Check now (
pagecrawl.check_now): trigger an immediate check of one or more monitors, then refresh their entities. Target any entity or device that belongs to the monitor, or name the monitor directly byslugormonitor_id:
service: pagecrawl.check_now
data:
slug: openai-about- Track a new page (
pagecrawl.track_page): create a new monitor from a URL, name, and tracking mode (for examplepriceorai_extract). Its device and entities appear after the next refresh. If you have more than one workspace, add the entry to choose which one it is created in.
Automations
The integration fires a pagecrawl_change event whenever a monitor's latest change advances, so you can react to it in automations.
alias: Notify on PageCrawl change
trigger:
  - platform: event
    event_type: pagecrawl_change
action:
  - service: notify.notify
    data:
      title: "PageCrawl: {{ trigger.event.data.name }}"
      message: >-
        {{ trigger.event.data.human_difference }}
        {{ trigger.event.data.diff_url }}
Event data includes the monitor name, URL, slug, status, the change contents and difference, a human-readable summary, a diff link, and a timestamp. When AI analysis is enabled on the monitor, the event also carries the AI summary and an AI priority score, so you can filter and route changes straight from the event without looking up a per-monitor sensor.
Editing and Removing Monitors
The integration can create monitors and read and check them, but editing and deleting monitors is done in the PageCrawl web app. Changes you make there are reflected in Home Assistant on the next update.
Related
- Webhook Integration explains the underlying change payloads, which power the real-time push updates.
- See the developer documentation for the full API and webhook reference.