Home Assistant users love automation. Whether it's turning on lights when you arrive home or adjusting the thermostat based on weather forecasts, the power of Home Assistant lies in connecting different services and triggering actions automatically.
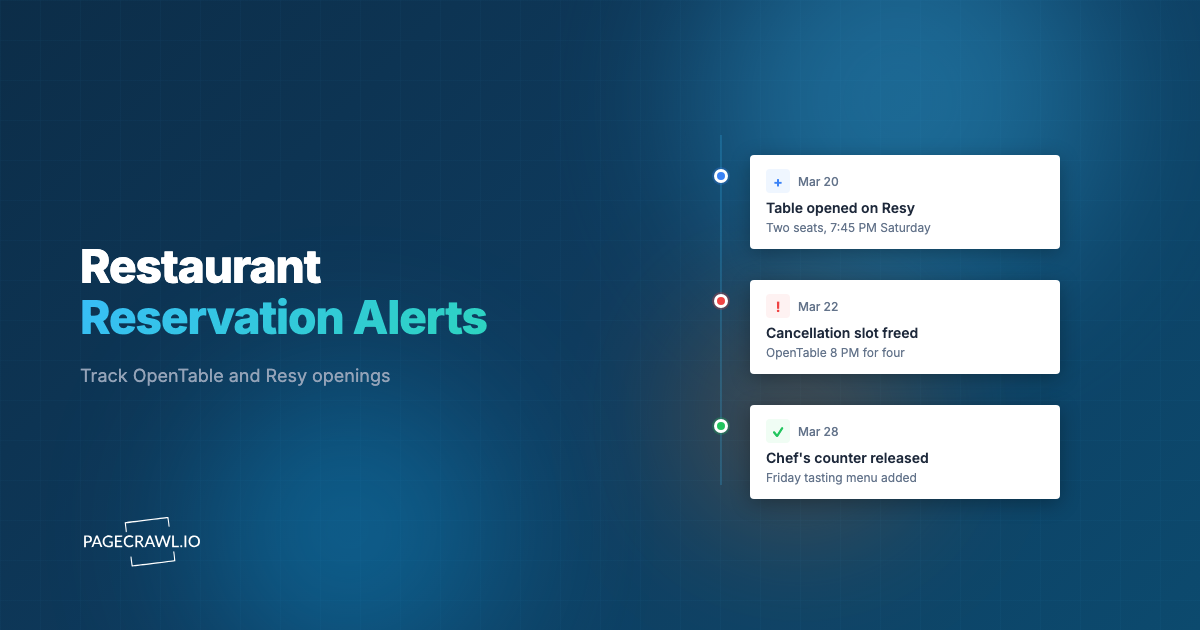
But what about monitoring websites? Home Assistant has a built-in scrape sensor that works great for simple, static HTML pages. However, many sites you actually want to monitor, like Raspberry Pi stock on rpilocator.com, Ubiquiti UniFi gear, sneaker drops, or protected member portals, require something more powerful.
Why use PageCrawl.io instead of the built-in scrape sensor?
- JavaScript support - Modern sites load content via JavaScript. The scrape sensor only sees raw HTML, missing dynamic prices, stock status, and interactive elements. PageCrawl handles this automatically.
- Bot protection handling - Many retailers and hardware sites use protection systems that block simple HTTP requests. PageCrawl handles this automatically.
- Don't get your IP blocked - Scraping from your home IP can get you blocked or rate-limited. PageCrawl avoids this.
- Don't overload servers - Running frequent checks from your HA instance puts load on both your server and the target site. PageCrawl manages check frequency and caching intelligently.
- Login authentication - Monitor pages behind login walls using browser-based authentication that the scrape sensor can't handle.
- AI-powered summaries - Get intelligent change summaries instead of raw diffs.
- Visual screenshots - See exactly what changed with before/after screenshots.
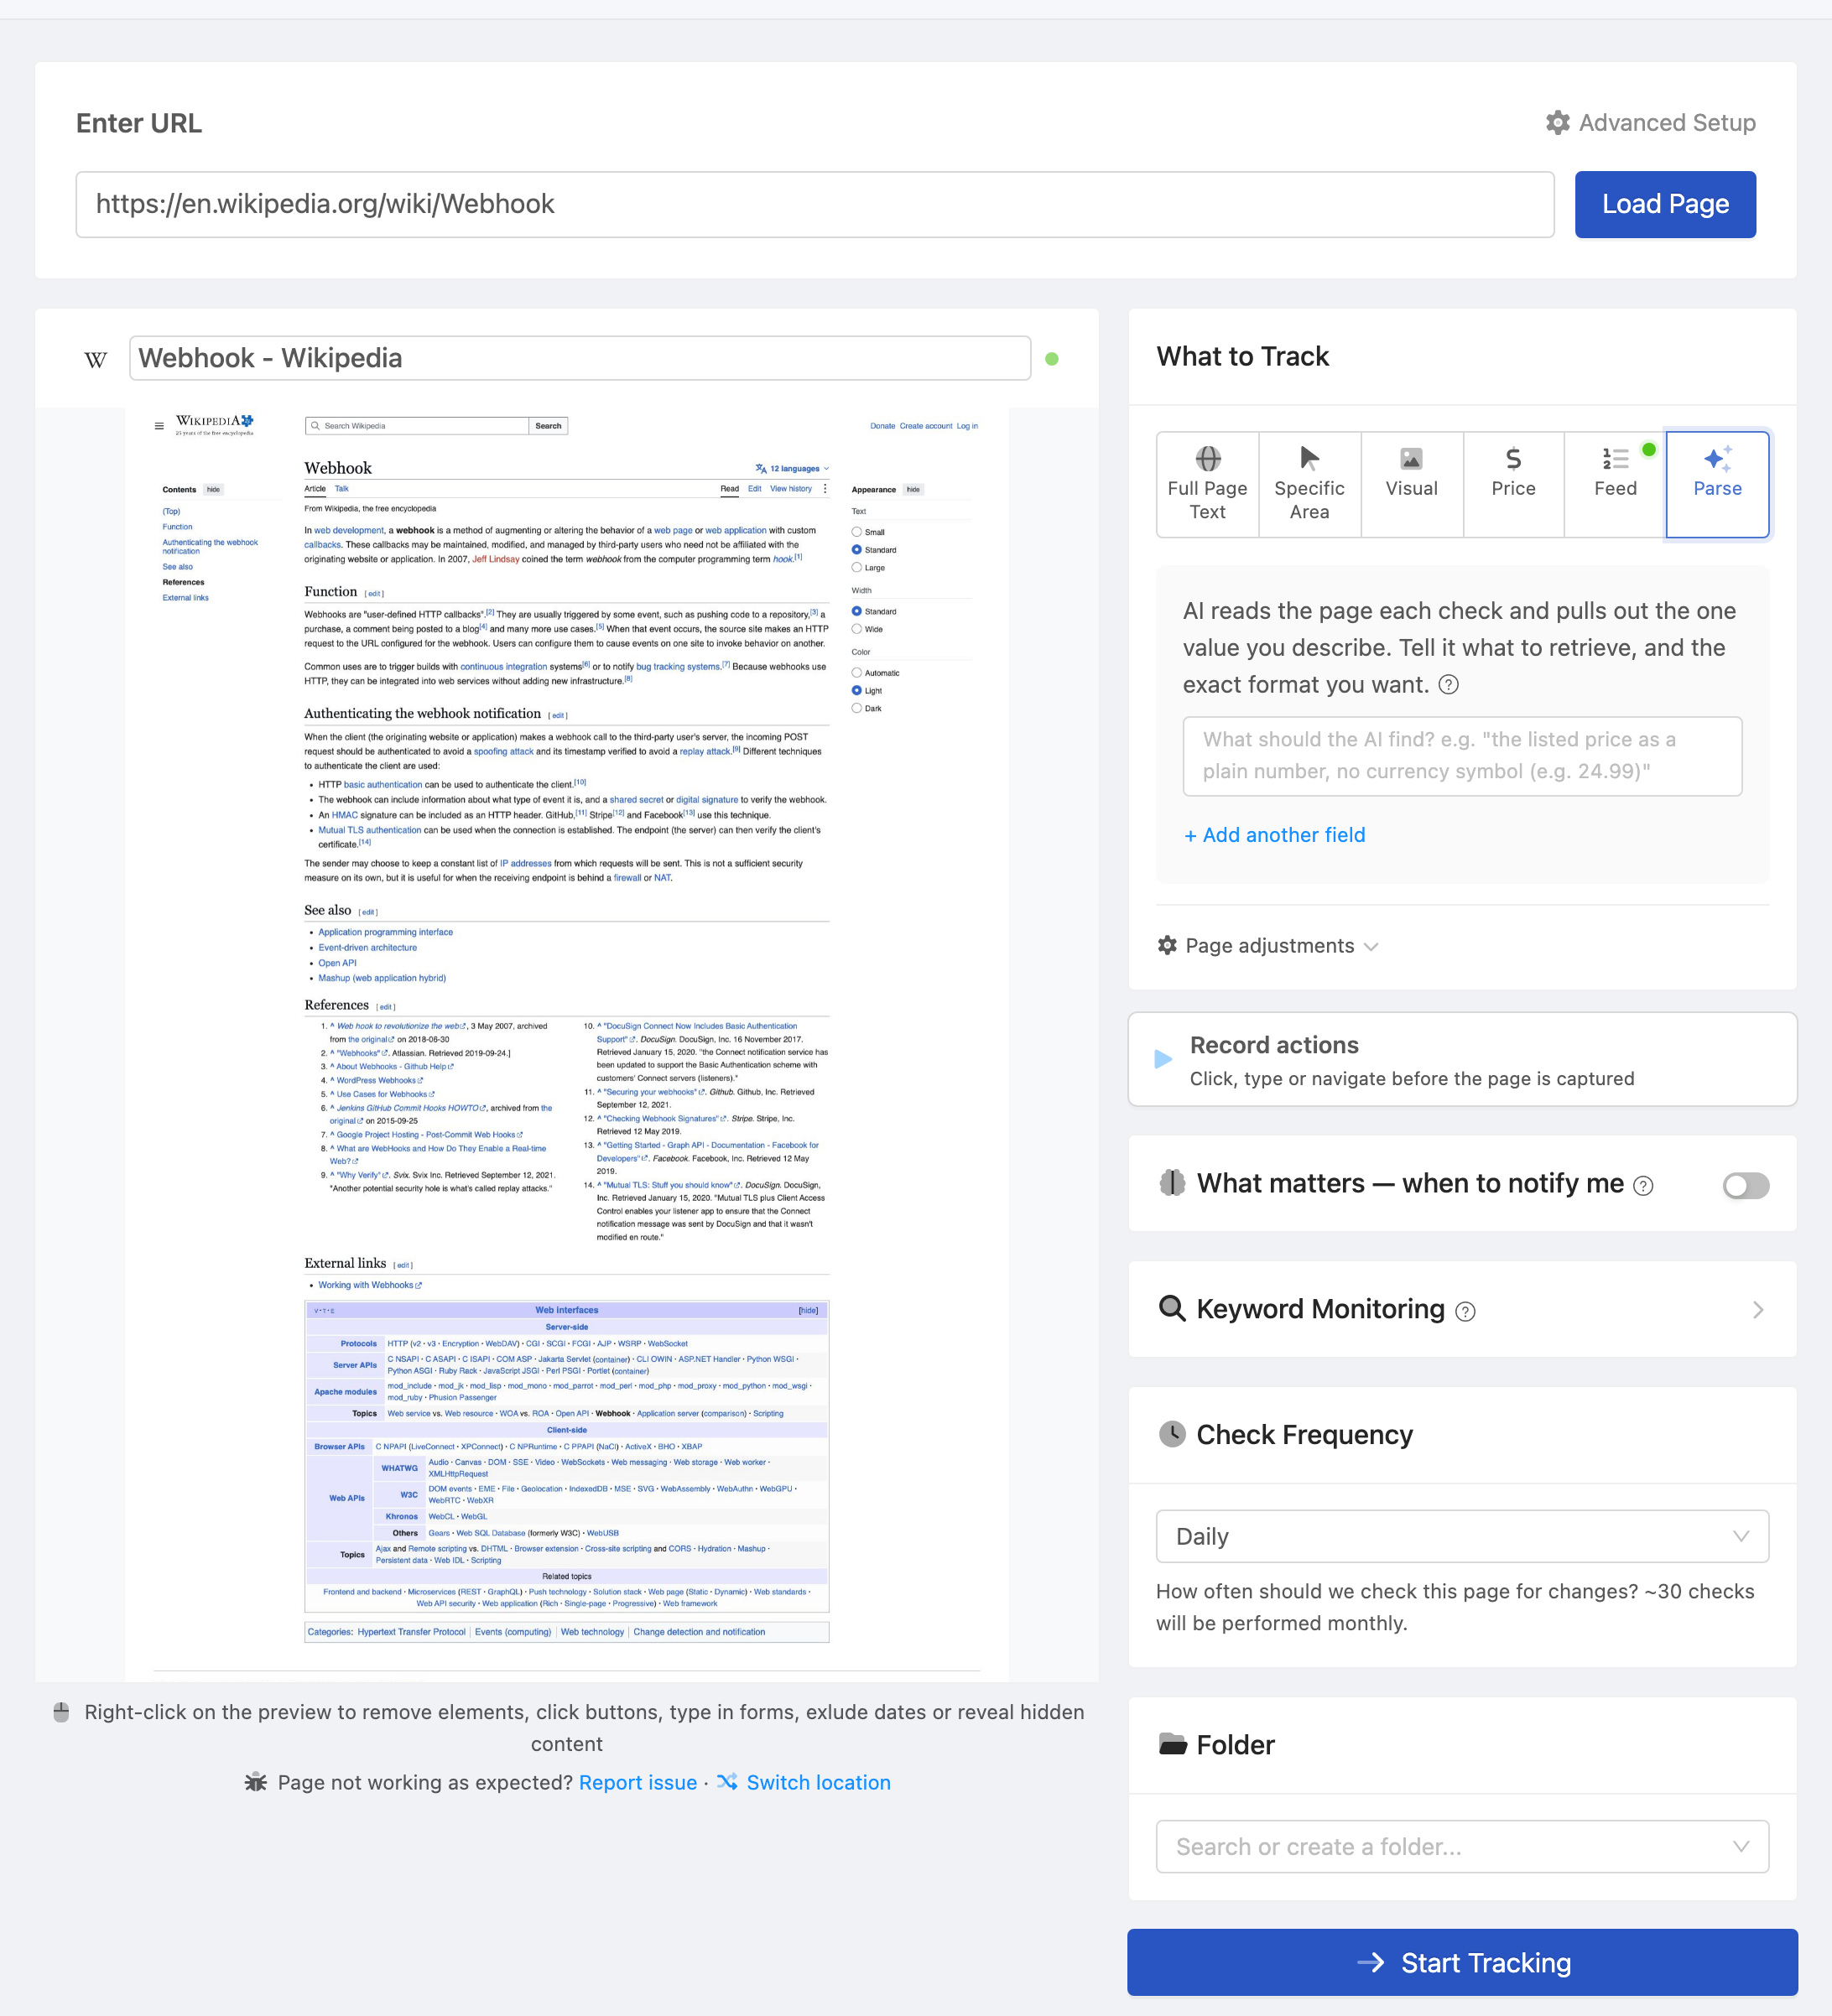
PageCrawl.io is a web monitoring and change detection service built for the sites that are hard to monitor. The easiest way to bring it into Home Assistant is the native PageCrawl integration, a HACS custom repository that installs in a few clicks, signs in with OAuth, and creates a device and sensors for every monitor automatically. No API token, no YAML required, and it works on free PageCrawl accounts.
If you prefer raw control, the manual webhook and REST recipes are still here too, further down under the advanced section.
Prerequisites
Before you begin, you'll need:
- A PageCrawl.io account with at least one monitored page (the free plan works)
- Home Assistant 2024.1.0 or newer, installed and accessible (local or Nabu Casa cloud)
- HACS installed, if you want the native integration (recommended)
- For the advanced DIY paths: basic familiarity with Home Assistant YAML, and for REST polling, a paid PageCrawl plan

The PageCrawl Home Assistant integration (recommended)
The native integration is the recommended way to use PageCrawl with Home Assistant. It installs through HACS, authenticates with a single OAuth sign-in, and turns every monitor into a Home Assistant device with properly typed sensors. There is no token to create or paste, and nothing in configuration.yaml to edit.
Step 1: Install via HACS
- In Home Assistant, open HACS.
- Click the menu (top right) and choose Custom repositories.
- Add the repository URL
https://github.com/pagecrawl/hass-pagecrawland select the category Integration. - Search for PageCrawl in HACS and click Download.
- Restart Home Assistant when prompted.
Prefer to install by hand? Copy the custom_components/pagecrawl folder into your Home Assistant config/custom_components directory and restart. Either way, you need Home Assistant 2024.1.0 or newer.
Step 2: Connect with OAuth
- Go to Settings → Devices & Services → Add Integration.
- Search for PageCrawl and select it.
- Sign in with the OAuth flow (one click, no API token to generate or copy).
- If your account has more than one workspace, pick the workspace you want for this config entry.
The integration uses a least-privilege scope. It can read your monitors, trigger checks, and create new monitors, but it cannot edit or delete monitors. Do those in the web app. Because OAuth keeps the access narrow, this works comfortably on free PageCrawl accounts.
Step 3: Choose what to import
At setup (and any time later via Configure) you choose the import scope:
- All monitors (default)
- Selected folders
- Selected monitors
De-selecting a folder or monitor removes its devices and entities automatically, so your Home Assistant stays clean as your monitoring setup changes.
What you get: a device per monitor, typed entities per element
Each monitor becomes one device. Each tracked element on that monitor becomes one entity, typed by what it tracks:
| Element type | Entity | Notes |
|---|---|---|
price |
sensor | Monetary, numeric |
number, rating, reviews |
sensor | Measurement, numeric |
http_status |
sensor | Numeric status code |
boolean |
binary_sensor | On when truthy |
availability |
binary_sensor | On when in stock |
text, fullpage, html, ai_extract, json_path, seo |
sensor | Text value, full value in an attribute when it runs past 255 chars |
links, feed, leaderboard, text_multiple |
sensor | Item count as the state, items in an attribute |
Every monitor also gets:
- Diagnostic entities: status, last checked, last change date, and change percent.
- A primary "Latest change" sensor, with attributes for
url,status,change_percent,diff_url,screenshot_url, andhuman_difference. - A "Check now" button entity to run an immediate check from a dashboard or automation.
When AI analysis is enabled on a monitor, two extra sensors appear on its device: an AI summary sensor and an AI priority sensor (0 to 100). These only show up where AI is turned on, so you don't get empty entities everywhere.
Real-time vs polling: update modes
Open Configure on the integration to pick how it stays current:
- Auto (default) - Pushes in real time when the integration can reach a webhook URL, and falls back to polling when it can't. This is the right choice for most setups.
- Push and poll - Forces webhook push plus a slow reconciliation poll. Needs a reachable URL.
- Polling only - No webhook, schedule-based checks only. Ideal for local-only installs with no inbound access.
When push is in play and you run Home Assistant Cloud (Nabu Casa), the integration automatically uses a cloudhook, so you don't need to expose your instance yourself. Webhook payloads are signed with HMAC-SHA256. The poll interval has a 60-second minimum, matching the free-tier rate limit.
Note: this is the same hybrid push-plus-poll model the DIY recipes below stitch together by hand, except the integration sets it up for you.
Services (actions) you can call
The integration registers two actions you can use in automations, scripts, or Developer Tools:
pagecrawl.check_now- Run an immediate check. Target by entity, device, slug, or monitor ID.pagecrawl.track_page- Create a new monitor from aurlandnamewith atracking_modesuch aspriceorai_extract. Optional fields includeselector,prompt,frequency, andworkspace.
Creating a monitor straight from Home Assistant:
service: pagecrawl.track_page
data:
  url: "https://www.rpilocator.com/?cat=PI5"
  name: "Raspberry Pi 5 stock"
  tracking_mode: "ai_extract"
  prompt: "Is any Raspberry Pi 5 currently in stock?"
  frequency: 60
Automate off the pagecrawl_change event
Whenever a monitor's latest change advances, the integration fires a pagecrawl_change event. The event data includes name, url, slug, status, contents, difference, human_difference, diff_url, and changed_at, plus ai_summary and ai_priority_score when AI is enabled on that monitor.
That makes automations clean. No webhook receiver to wire up, no token, just listen for the event:
automation:
  - id: pagecrawl_change_notify
    alias: "PageCrawl - Change Detected"
    trigger:
      - platform: event
        event_type: pagecrawl_change
    condition:
      # Only ping the phone for higher-priority changes when AI is on
      - condition: template
        value_template: "{{ trigger.event.data.ai_priority_score | float(0) > 60 }}"
    action:
      - service: notify.mobile_app_your_phone
        data:
          title: "Changed: {{ trigger.event.data.name }}"
          message: >
            {{ trigger.event.data.ai_summary
               | default(trigger.event.data.human_difference) }}
          data:
            url: "{{ trigger.event.data.url }}"
            clickAction: "{{ trigger.event.data.diff_url }}"
For most people, the native integration plus a couple of pagecrawl_change automations is the entire job. The rest of this guide is for builders who want to assemble the plumbing themselves.
Advanced: build your own integration (webhooks and REST)
This section is for users who want raw control: custom webhook payloads, bespoke sensor shapes, or integration with systems outside the native flow. You don't need any of this if you use the integration above, which already runs the hybrid push-plus-poll model for you. But the building blocks are useful if you want to bend things your own way.
There are two manual building blocks:
- Webhooks (Push) - PageCrawl sends an HTTP POST to a Home Assistant webhook automation when a change is detected. Available on the free plan.
- REST API Polling (Pull) - Home Assistant periodically queries PageCrawl for status. Available on every plan, including Free.
Manual webhook setup
First, create an automation that listens for incoming webhooks. Add this to your automations.yaml or create it through the UI:
automation:
  - id: pagecrawl_change_detected
    alias: "PageCrawl - Change Detected (manual webhook)"
    description: "Triggered when PageCrawl detects a website change"
    trigger:
      - platform: webhook
        webhook_id: pagecrawl_change_notification
        allowed_methods:
          - POST
        local_only: false
    action:
      - service: notify.persistent_notification
        data:
          title: "Website Changed: {{ trigger.json.title }}"
          message: >
            {{ trigger.json.page.name }} has changed!

            URL: {{ trigger.json.page.url }}
            Changed at: {{ trigger.json.changed_at }}
            Difference: {{ trigger.json.human_difference }}
            {% if trigger.json.ai_summary %}

            AI Summary: {{ trigger.json.ai_summary }}
            {% endif %}
Your webhook URL will be in one of these formats:
With Nabu Casa:
https://YOUR_NABU_CASA_URL.ui.nabu.casa/api/webhook/pagecrawl_change_notificationWith external access (reverse proxy, Cloudflare Tunnel, etc.):
https://your-homeassistant-domain.com/api/webhook/pagecrawl_change_notificationImportant: Since PageCrawl is a cloud-hosted service, your Home Assistant instance must be accessible from the internet to receive webhooks. Local-only URLs (like homeassistant.local) will not work. The native integration sidesteps this with a Nabu Casa cloudhook when available.
Then configure the webhook in PageCrawl:
- Log in to PageCrawl.io
- Go to Settings → Webhooks
- Click Add Webhook
- Enter your Home Assistant webhook URL
- Select the pages you want to trigger this webhook
- Choose which fields to include in the payload
- Save and test the webhook
Webhook payloads are signed with HMAC-SHA256 so you can verify they genuinely came from PageCrawl before acting on them.
Webhook payload structure
PageCrawl sends a comprehensive JSON payload with each webhook. Here's the complete structure:
{
  "id": 12345,
  "title": "Product Price Monitor",
  "status": "ok",
  "content_type": "text/html",
  "visual_diff": 15,
  "changed_at": "2024-01-15T10:30:00Z",

  "contents": "Current page content...",
  "original": "Previous page content...",
  "difference": 25.5,
  "human_difference": "Medium change detected",
  "elements": 5,

  "page_screenshot_image": "https://pagecrawl.io/api/webhook/...",
  "text_difference_image": "https://pagecrawl.io/api/webhook/...",
  "html_difference": "<div class='diff'>...</div>",
  "markdown_difference": "## Changes\n- Price changed from $99 to $79",

  "page": {
    "id": 123,
    "name": "Amazon Product Page",
    "url": "https://amazon.com/product/...",
    "url_tld": "amazon.com",
    "slug": "amazon-product-page",
    "link": "https://pagecrawl.io/app/pages/amazon-product-page",
    "folder": "Price Monitors"
  },

  "page_elements": [
    {
      "id": 456,
      "label": "Price",
      "type": "css",
      "contents": "$79.99",
      "original": "$99.99",
      "difference": 20.0,
      "human_difference": "Significant change",
      "changed": true
    }
  ],

  "ai_summary": "The product price dropped from $99.99 to $79.99, a 20% discount",
  "ai_priority_score": 85.5,

  "previous_check": {
    "id": 12344,
    "changed_at": "2024-01-14T10:30:00Z",
    "contents": "...",
    "difference": 5.2
  }
}
Key fields for automations:
| Field | Description | Use Case |
|---|---|---|
title |
Page name | Notification titles |
status |
Page status (ok, error) | Error alerting |
difference |
Change percentage (0-100) | Threshold-based triggers |
human_difference |
Readable change description | Notifications |
ai_summary |
AI-generated change summary | Smart notifications |
ai_priority_score |
Importance score (0-100) | Priority filtering |
page.url |
Monitored URL | Deep linking |
page_elements[].contents |
Specific tracked element value | Price/stock monitoring |
changed_at |
ISO 8601 timestamp | Time-based logic |
Price drop alert with mobile notification
automation:
  - id: pagecrawl_price_drop_alert
    alias: "PageCrawl - Price Drop Alert"
    trigger:
      - platform: webhook
        webhook_id: pagecrawl_change_notification
        allowed_methods:
          - POST
        local_only: false
    condition:
      # Only trigger for significant changes with high AI priority
      - condition: template
        value_template: "{{ trigger.json.ai_priority_score | float > 70 }}"
      - condition: template
        value_template: "{{ trigger.json.difference | float > 10 }}"
    action:
      - service: notify.mobile_app_your_phone
        data:
          title: "Price Alert: {{ trigger.json.title }}"
          message: "{{ trigger.json.ai_summary | default('Change detected') }}"
          data:
            url: "{{ trigger.json.page.url }}"
            clickAction: "{{ trigger.json.page.url }}"
            image: "{{ trigger.json.page_screenshot_image }}"
            priority: high
            ttl: 0
            actions:
              - action: OPEN_URL
                title: "View Page"
                uri: "{{ trigger.json.page.url }}"
              - action: VIEW_PAGECRAWL
                title: "View in PageCrawl"
                uri: "{{ trigger.json.page.link }}"
Raspberry Pi stock alert (rpilocator.com)
Monitor rpilocator.com for Raspberry Pi 5 availability and flash a light when stock appears:
automation:
  - id: pagecrawl_rpi_stock_alert
    alias: "PageCrawl - Raspberry Pi Back in Stock"
    trigger:
      - platform: webhook
        webhook_id: pagecrawl_rpi_stock
        allowed_methods:
          - POST
        local_only: false
    condition:
      - condition: template
        value_template: >
          {% set content = trigger.json.contents | lower %}
          {{ 'in stock' in content or 'add to cart' in content or 'buy now' in content }}
    action:
      - service: notify.all_devices
        data:
          title: "Raspberry Pi In Stock!"
          message: "{{ trigger.json.title }} is available! {{ trigger.json.page.url }}"
      - service: light.turn_on
        target:
          entity_id: light.office_alert
        data:
          color_name: green
          brightness: 255
      - delay:
          seconds: 30
      - service: light.turn_off
        target:
          entity_id: light.office_alert
Multi-page router with different actions
Route different monitors to different actions based on the page folder or URL:
automation:
  - id: pagecrawl_router
    alias: "PageCrawl - Notification Router"
    trigger:
      - platform: webhook
        webhook_id: pagecrawl_change_notification
        allowed_methods:
          - POST
        local_only: false
    action:
      - choose:
          # Home Assistant / ESPHome / Zigbee2mqtt releases (GitHub)
          - conditions:
              - condition: template
                value_template: "{{ 'github.com' in trigger.json.page.url }}"
            sequence:
              - service: notify.mobile_app_phone
                data:
                  title: "New Release: {{ trigger.json.title }}"
                  message: "{{ trigger.json.ai_summary | default('New version available') }}"
                  data:
                    url: "{{ trigger.json.page.url }}"
                    priority: high

          # Hardware stock alerts (rpilocator, Ubiquiti store, ThePiHut)
          - conditions:
              - condition: template
                value_template: "{{ trigger.json.page.folder == 'Stock Alerts' }}"
            sequence:
              - service: notify.all_devices
                data:
                  title: "In Stock: {{ trigger.json.title }}"
                  message: "{{ trigger.json.page.url }}"
              - service: light.turn_on
                target:
                  entity_id: light.office_notification
                data:
                  color_name: green
                  brightness: 255

          # Firmware updates (Shelly, Tasmota)
          - conditions:
              - condition: template
                value_template: "{{ trigger.json.page.folder == 'Firmware' }}"
            sequence:
              - service: tts.speak
                target:
                  entity_id: tts.home_assistant_cloud
                data:
                  message: "Firmware update available for {{ trigger.json.title }}"
                  media_player_entity_id: media_player.office_speaker

        # Default action for any other page
        default:
          - service: notify.persistent_notification
            data:
              title: "PageCrawl: {{ trigger.json.title }}"
              message: "{{ trigger.json.human_difference }}"
REST API polling
REST API polling is useful when you need to check status on a schedule regardless of changes, monitor page health and error states, build dashboard sensors, or integrate with systems that can't receive webhooks. The native integration already exposes status as diagnostic entities, so reach for raw REST only when you want a custom sensor shape.
To get your API token: log in to PageCrawl.io, go to Settings → API, and copy your token. It is a 60-character string that authenticates your requests.
Basic REST sensor in configuration.yaml:
rest:
  - resource: "https://pagecrawl.io/api/changes/YOUR_PAGE_ID"
    scan_interval: 300  # Poll every 5 minutes
    headers:
      Authorization: "Bearer YOUR_API_TOKEN"
      Accept: "application/json"
    sensor:
      - name: "PageCrawl Example Page"
        unique_id: "pagecrawl_example_page_status"
        value_template: >
          {% if value_json.disabled %}
            disabled
          {% elif value_json.unseen > 0 %}
            changed
          {% elif value_json.failed > 0 %}
            error
          {% else %}
            ok
          {% endif %}
        json_attributes:
          - name
          - url
          - last_checked_at
          - unseen
          - failed
          - disabled
          - frequency
Complete page status with binary sensors:
rest:
  - resource: "https://pagecrawl.io/api/changes/123"
    scan_interval: 300
    headers:
      Authorization: "Bearer YOUR_API_TOKEN"
      Accept: "application/json"
    sensor:
      - name: "Product Monitor Status"
        unique_id: "pagecrawl_product_monitor"
        icon: mdi:web-sync
        value_template: >
          {% if value_json.disabled %}disabled
          {% elif value_json.pending %}checking
          {% elif value_json.unseen > 0 %}changed
          {% elif value_json.failed > 0 %}error
          {% else %}ok{% endif %}
        json_attributes:
          - id
          - name
          - url
          - status
          - last_checked_at
          - unseen
          - failed
          - disabled
          - pending
          - frequency
          - screenshots
          - latest

    binary_sensor:
      - name: "Product Monitor Has Changes"
        unique_id: "pagecrawl_product_monitor_changed"
        icon: mdi:alert-circle
        value_template: "{{ value_json.unseen > 0 }}"
        device_class: problem

      - name: "Product Monitor Has Errors"
        unique_id: "pagecrawl_product_monitor_error"
        icon: mdi:alert
        value_template: "{{ value_json.failed > 0 }}"
        device_class: problem

      - name: "Product Monitor Active"
        unique_id: "pagecrawl_product_monitor_active"
        icon: mdi:eye
        value_template: "{{ not value_json.disabled }}"
Latest check details with AI summary:
rest:
  - resource: "https://pagecrawl.io/api/changes/123/zapier/poll"
    scan_interval: 300
    headers:
      Authorization: "Bearer YOUR_API_TOKEN"
      Accept: "application/json"
    sensor:
      - name: "Product Monitor Latest Check"
        unique_id: "pagecrawl_product_latest"
        icon: mdi:clipboard-text-clock
        value_template: "{{ value_json[0].id }}"
        json_attributes_path: "$[0]"
        json_attributes:
          - title
          - status
          - changed_at
          - difference
          - human_difference
          - ai_summary
          - ai_priority_score
          - contents
          - page

      - name: "Product Monitor AI Priority"
        unique_id: "pagecrawl_product_ai_priority"
        icon: mdi:robot
        unit_of_measurement: "%"
        value_template: "{{ value_json[0].ai_priority_score | float(0) | round(1) }}"

      - name: "Product Monitor Difference"
        unique_id: "pagecrawl_product_difference"
        icon: mdi:compare
        unit_of_measurement: "%"
        value_template: "{{ value_json[0].difference | float(0) | round(1) }}"
Extract a specific element value, for example a price:
rest:
  - resource: "https://pagecrawl.io/api/changes/123/zapier/poll"
    scan_interval: 600
    headers:
      Authorization: "Bearer YOUR_API_TOKEN"
    sensor:
      - name: "Tracked Product Price"
        unique_id: "pagecrawl_product_price"
        icon: mdi:currency-usd
        unit_of_measurement: "$"
        value_template: >
          {% set price_element = value_json[0].page_elements | selectattr('label', 'equalto', 'Price') | first %}
          {% if price_element %}
            {{ price_element.contents | regex_replace('[^0-9.]', '') | float(0) }}
          {% else %}
            unknown
          {% endif %}
        json_attributes_path: "$[0]"
        json_attributes:
          - changed_at
          - ai_summary
Monitoring multiple pages
Use YAML anchors to reduce duplication across several monitors:
rest:
  # Home Assistant Releases (GitHub)
  - resource: "https://pagecrawl.io/api/changes/101"
    scan_interval: 300
    headers:
      Authorization: !secret pagecrawl_api_token
    sensor:
      - name: "HA Releases Monitor"
        unique_id: "pagecrawl_ha_releases"
        icon: mdi:home-assistant
        value_template: &status_template >
          {% if value_json.disabled %}disabled
          {% elif value_json.unseen > 0 %}changed
          {% elif value_json.failed > 0 %}error
          {% else %}ok{% endif %}
        json_attributes: &common_attributes
          - name
          - url
          - last_checked_at
          - unseen
          - failed

  # Raspberry Pi Stock (rpilocator.com)
  - resource: "https://pagecrawl.io/api/changes/102"
    scan_interval: 300
    headers:
      Authorization: !secret pagecrawl_api_token
    sensor:
      - name: "RPi Stock Monitor"
        unique_id: "pagecrawl_rpi_stock"
        icon: mdi:raspberry-pi
        value_template: *status_template
        json_attributes: *common_attributes

  # Zigbee2mqtt Releases (GitHub)
  - resource: "https://pagecrawl.io/api/changes/103"
    scan_interval: 600
    headers:
      Authorization: !secret pagecrawl_api_token
    sensor:
      - name: "Z2M Releases Monitor"
        unique_id: "pagecrawl_z2m_releases"
        icon: mdi:zigbee
        value_template: *status_template
        json_attributes: *common_attributes
Store your API token in secrets.yaml:
pagecrawl_api_token: "Bearer your_60_character_api_token_here"Dashboard card for multiple monitors:
type: entities
title: Tinkerer Monitors
entities:
  - entity: sensor.ha_releases_monitor
    name: Home Assistant Releases
    secondary_info: last-changed
  - entity: sensor.rpi_stock_monitor
    name: Raspberry Pi Stock
    secondary_info: last-changed
  - entity: sensor.z2m_releases_monitor
    name: Zigbee2mqtt Releases
    secondary_info: last-changed
Or a more visual glance card with conditional formatting:
type: custom:auto-entities
card:
  type: glance
  title: PageCrawl Monitors
filter:
  include:
    - entity_id: sensor.pagecrawl_*
      options:
        tap_action:
          action: url
          url_path: "{{ state_attr(config.entity, 'url') }}"
Price history tracking with statistics
sensor:
  - platform: statistics
    name: "Product Price Stats"
    entity_id: sensor.tracked_product_price
    state_characteristic: mean
    max_age:
      days: 30

  - platform: statistics
    name: "Product Price Min 30d"
    entity_id: sensor.tracked_product_price
    state_characteristic: value_min
    max_age:
      days: 30

automation:
  - id: pagecrawl_price_at_30day_low
    alias: "PageCrawl - Price at 30-Day Low"
    trigger:
      - platform: template
        value_template: >
          {{ states('sensor.tracked_product_price') | float ==
             states('sensor.product_price_min_30d') | float }}
    action:
      - service: notify.mobile_app_phone
        data:
          title: "30-Day Low Price!"
          message: >
            {{ state_attr('sensor.tracked_product_price', 'name') }}
            is at its lowest price in 30 days: ${{ states('sensor.tracked_product_price') }}
Combine webhook and polling for reliability
If you are building this by hand, you can mirror the native integration's hybrid model with a slow REST backup behind a real-time webhook:
# REST sensor for baseline status
rest:
  - resource: "https://pagecrawl.io/api/changes/123"
    scan_interval: 900  # 15 minutes as backup
    headers:
      Authorization: !secret pagecrawl_api_token
    sensor:
      - name: "Monitor Backup Status"
        unique_id: "pagecrawl_backup_sensor"
        value_template: "{{ value_json.unseen }}"

# Webhook for real-time notifications
automation:
  - id: pagecrawl_webhook_handler
    alias: "PageCrawl - Webhook Handler"
    trigger:
      - platform: webhook
        webhook_id: pagecrawl_notification
        allowed_methods:
          - POST
    action:
      - service: input_number.set_value
        target:
          entity_id: input_number.pagecrawl_unseen_count
        data:
          value: "{{ trigger.json.unseen | default(1) }}"
      - service: notify.mobile_app_phone
        data:
          title: "{{ trigger.json.title }}"
          message: "{{ trigger.json.ai_summary | default(trigger.json.human_difference) }}"

# Alert if no updates received for too long
  - id: pagecrawl_stale_check
    alias: "PageCrawl - Stale Data Alert"
    trigger:
      - platform: template
        value_template: >
          {{ (as_timestamp(now()) - as_timestamp(state_attr('sensor.monitor_backup_status', 'last_checked_at'))) > 7200 }}
    action:
      - service: notify.admin
        data:
          title: "PageCrawl Monitor Stale"
          message: "No check received in over 2 hours"
Trigger a manual check via REST
With the native integration, prefer the pagecrawl.check_now action or the per-monitor Check now button. If you are on the raw REST path, you can call the check endpoint directly:
rest_command:
  pagecrawl_trigger_check:
    url: "https://pagecrawl.io/api/changes/{{ page_id }}/check"
    method: PUT
    headers:
      Authorization: !secret pagecrawl_api_token
      Content-Type: "application/json"

script:
  check_all_monitors:
    alias: "Trigger All PageCrawl Checks"
    sequence:
      - service: rest_command.pagecrawl_trigger_check
        data:
          page_id: 101
      - delay:
          seconds: 2
      - service: rest_command.pagecrawl_trigger_check
        data:
          page_id: 102
      - delay:
          seconds: 2
      - service: rest_command.pagecrawl_trigger_check
        data:
          page_id: 103
Visual dashboard with change screenshots
# Download and cache screenshot when change detected
automation:
  - id: pagecrawl_cache_screenshot
    alias: "PageCrawl - Cache Screenshot"
    trigger:
      - platform: webhook
        webhook_id: pagecrawl_notification
        allowed_methods:
          - POST
    condition:
      - condition: template
        value_template: "{{ trigger.json.page_screenshot_image is defined }}"
    action:
      - service: downloader.download_file
        data:
          url: "{{ trigger.json.page_screenshot_image }}"
          filename: "pagecrawl_latest_{{ trigger.json.page.id }}.png"
          overwrite: true

# Display in dashboard using local image
camera:
  - platform: local_file
    name: "PageCrawl Latest Screenshot"
    file_path: /config/downloads/pagecrawl_latest_123.png
Troubleshooting
Native integration
Problem: PageCrawl doesn't appear in HACS
- Confirm you added
https://github.com/pagecrawl/hass-pagecrawlas a custom repository with the category set to Integration. - Restart Home Assistant after downloading, then look for PageCrawl under Settings → Devices & Services → Add Integration.
Problem: No devices or entities after connecting
- Check the import scope in Configure. If it is set to selected folders or monitors, only those appear.
- Confirm the chosen workspace actually contains monitors.
Problem: Changes are not pushing in real time
- Switch the update mode to Auto or Push and poll in Configure. Push needs a reachable URL.
- Without a public URL, run Home Assistant Cloud (Nabu Casa) so the integration can use a cloudhook, or fall back to Polling only.
- Remember the poll interval has a 60-second minimum on the free tier.
Manual webhook issues
Problem: Webhooks not arriving
- Verify your Home Assistant is accessible from the internet.
- Check the webhook URL is correctly formatted.
- Test with
curl:curl -X POST https://your-ha-url/api/webhook/pagecrawl_test \ -H "Content-Type: application/json" \ -d '{"test": "data"}' - Check Home Assistant logs for webhook errors.
Problem: Webhook automation not triggering
- Ensure
local_only: falseis set in your trigger. - Verify the webhook_id matches exactly.
- Check that
allowed_methodsincludes POST.
REST API issues
Problem: Authentication errors (401)
- Verify your API token is correct.
- Ensure the Authorization header format is
Bearer YOUR_TOKEN(with space). - Check the token hasn't been rotated.
Problem: Empty or null values
- Use default filters in templates:
{{ value_json.field | default('N/A') }}. - Check if the page ID/slug exists in your PageCrawl account.
Problem: Rate limiting (429)
- Increase
scan_intervalto reduce polling frequency. - Recommended: 300 seconds (5 minutes) minimum.
Problem: Template errors in value_template
- Use the Template Editor in Developer Tools to test.
- Wrap optional fields in
{% if %}checks. - Use the
| default()filter for nullable values.
When to use PageCrawl vs. native HA sensors
Use HA's built-in scrape or rest sensors when:
- The site is simple, static HTML without JavaScript
- No bot protection
- Public JSON APIs with stable endpoints
- GitHub Atom feeds (
/releases.atom) - You don't mind your home IP making requests
Use PageCrawl when the site is hard to monitor:
Protected e-commerce and stock alerts
These sites actively block scrapers and need real browser rendering:
- Ubiquiti Store - Heavy bot protection, dynamic inventory
- NVIDIA GeForce Store - Bot detection, JavaScript-loaded stock status
- rpilocator.com - Aggregates Raspberry Pi stock across retailers
- Sneaker drops (Nike SNKRS, Shopify stores) - Aggressive bot protection
- Limited releases - PS5/Xbox restocks, GPU drops
Behind-login content
PageCrawl can authenticate and monitor pages that require login:
- Company career pages - New job postings behind applicant portals
- Customer portals - Order status, account changes
- School/University portals - Grades, schedules, announcements
- ISP status dashboards - Outage info requiring login
- Member-only forums - Specific threads or categories
Use PageCrawl's browser steps feature to log in before capturing content.
JavaScript-heavy sites
Modern sites that load content dynamically after page load:
- Single-page applications (React, Vue, Angular sites)
- Lazy-loaded pricing - Price appears after JavaScript executes
- Interactive dashboards - Content loaded via API calls
- Infinite scroll pages - Content not in initial HTML
Sites you don't want to overload
Avoid hammering servers from your home IP or getting blocked:
- Small business websites - Don't overload their hosting
- Government portals - Rate limiting concerns
- Competitor monitoring - Don't reveal your IP
- Frequent checks - Let PageCrawl manage the rate limiting
Getting Started
Start with the native integration. Install PageCrawl through HACS, sign in with OAuth, and let it import all your monitors as devices. Pick one monitor that matters to you, a hardware restock page, a firmware release page, or a price you care about, and wire up a single pagecrawl_change automation that pings your phone. Leave it running for a week.
Once you see the value, expand: add more monitors with the pagecrawl.track_page action, enable AI analysis on the ones where a plain-English summary helps, and route different folders to different actions (a light for stock, a TTS announcement for firmware). If you eventually need custom payloads or a sensor shape the integration doesn't expose, drop down to the webhook and REST recipes above. The native integration already runs the hybrid push-plus-poll model, so most setups never need to.
PageCrawl's free tier includes 6 monitors with 220 checks per month and the native Home Assistant integration works on it, so you can validate the whole flow before paying anything.
Related Resources
- PageCrawl Home Assistant integration guide
- PageCrawl API Documentation (requires login)
- PageCrawl Webhook Documentation (requires login)
- Home Assistant Webhook Trigger Documentation
- Home Assistant RESTful Sensor Documentation
- Home Assistant Template Documentation
Keywords: Home Assistant integration, Home Assistant HACS, PageCrawl Home Assistant, Home Assistant webhook integration, Home Assistant sensors, OAuth Home Assistant, web change detection, website monitoring automation, price drop notification Home Assistant
Choosing your PageCrawl plan
PageCrawl's Free plan lets you monitor 6 pages with 220 checks per month, which is enough to validate the approach on your most critical pages. Most teams graduate to a paid plan once they see the value.
| Plan | Price | Pages | Checks / month | Frequency |
|---|---|---|---|---|
| Free | $0 | 6 | 220 | every 60 min |
| Standard | $8/mo or $80/yr | 100 | 15,000 | every 15 min |
| Enterprise | $30/mo or $300/yr | 500 | 100,000 | every 5 min |
| Ultimate | $99/mo or $999/yr | 1,000 | 100,000 | every 2 min |
Annual billing saves two months across every paid tier. Enterprise and Ultimate scale up to 100x if you need thousands of pages or multi-team access.
Standard at $80/year pays for itself the moment one automation fires because PageCrawl caught a firmware update, a service outage notice, or a government rate change that your manual checking would have missed. 100 pages covers your key device firmware pages, utility provider portals, and any third-party integrations your Home Assistant setup depends on. Enterprise at $300/year adds 500 pages, the full API, SSO, and checks as often as every 5 minutes.
All plans include the PageCrawl MCP Server, which connects directly to Claude, Cursor, and other MCP-compatible tools. You can ask "what Home Assistant breaking changes landed in the last month?" and get a summary drawn from your own monitoring history, so your tracked pages become a living reference instead of a backlog of notification emails. AI assistants can create monitors through conversation on every plan, including Free.